Quilting Basics: How to Make Your First Quilt
If you want to learn more about the craft of quilting and how to create beautiful, handmade quilts that can last for generations, quilting is a rewarding and creative pursuit. A fabric wedding quilt is a really incredible way to condense cloth into one piece. It can be a warm blanket, a well-warmed gift, or a decoration!
If you’re new to quilting, the process can initially feel daunting. Yet with proper guidance, tools, and techniques, all can make their first quilt. This guide will introduce you to the fundamentals of quilting.
We’ll cover choosing fabrics and stitching them together. By the end, you’ll know how to make a quilt from start to finish, giving you the confidence to begin your quilting journey.
What You Need to Start Quilting

Before you begin, gathering the necessary materials and tools is essential. Having the right equipment will make the process smoother and more enjoyable.
Essential Materials:
- Fabric for Quilting: Choose high-quality cotton fabric in various colours and patterns. Pre-cut fabric squares or fat quarters are convenient options for beginners. Cotton is an excellent choice because it is easy to sew, durable, and widely available.
- Quilting Batting: This is the middle layer of the quilt that provides warmth and structure. It comes in different thicknesses, such as cotton, polyester, wool, or blends. Each type offers a different level of warmth and weight, so choose one that suits your project.
- Backing Fabric for Quilting: This fabric covers the back of your quilt. It should be a few inches larger than the quilt top to accommodate movement during quilting.
- Thread for Quilting: Use 100% cotton thread that matches or complements your fabric choices. A high-quality thread will ensure durability and a clean finish.
Essential Quilting Tools:
- Rotary Cutter for Quilting and Mat: A rotary cutter helps make precise fabric cuts, and a self-healing mat protects your workspace. A sharp rotary blade ensures clean edges and minimises fabric fraying.
- Quilting Ruler for Accuracy: This ensures accurate measurements and straight edges, which are crucial for achieving a professional look. A transparent ruler with grid markings is ideal for aligning fabric pieces accurately.
- Quilting Pins and Clips: These hold fabric layers together while sewing. Quilting clips can be particularly useful when working with thick layers.
- Sewing Machine for Quilting: A basic sewing machine with a walking foot attachment is ideal for quilting. If you don’t have a machine, hand quilting is an option, though it takes more time.
- Iron and Ironing Board for Quilting: Pressing fabric pieces ensures neat and professional results. A steam iron helps to set seams properly and keep the fabric flat during assembly.
Choosing a Simple Quilt Pattern

It’s best to start with a simple design for your first quilt. A basic patchwork quilt is an excellent choice as it involves sewing squares of fabric together in a straightforward grid pattern.
Popular Beginner-Friendly Quilt Patterns:
- Patchwork Quilt for Beginners: This design uses squares of fabric arranged in a grid. It is the easiest and most common for beginners.
- Strip Quilts for DIY Quilting are made by sewing fabric strips together in rows, creating a quick and simple pattern.
- Half-Square Triangle Quilt for Beginners: This slightly more advanced option uses simple triangle shapes for added visual interest.
When selecting your pattern, consider how much cutting and sewing is involved. Simpler patterns will help you build confidence without frustration. If unsure, consider using a quilting kit that includes pre-cut fabric and instructions.
Preparing Your Fabric for Quilting
Washing and Ironing Quilting Fabric
Pre-wash your fabric to prevent shrinkage and colour bleeding. Different fabrics may shrink at different rates, so washing before cutting ensures consistency. After washing, iron the fabric to remove wrinkles and provide accurate cutting.
Cutting Quilting Fabric
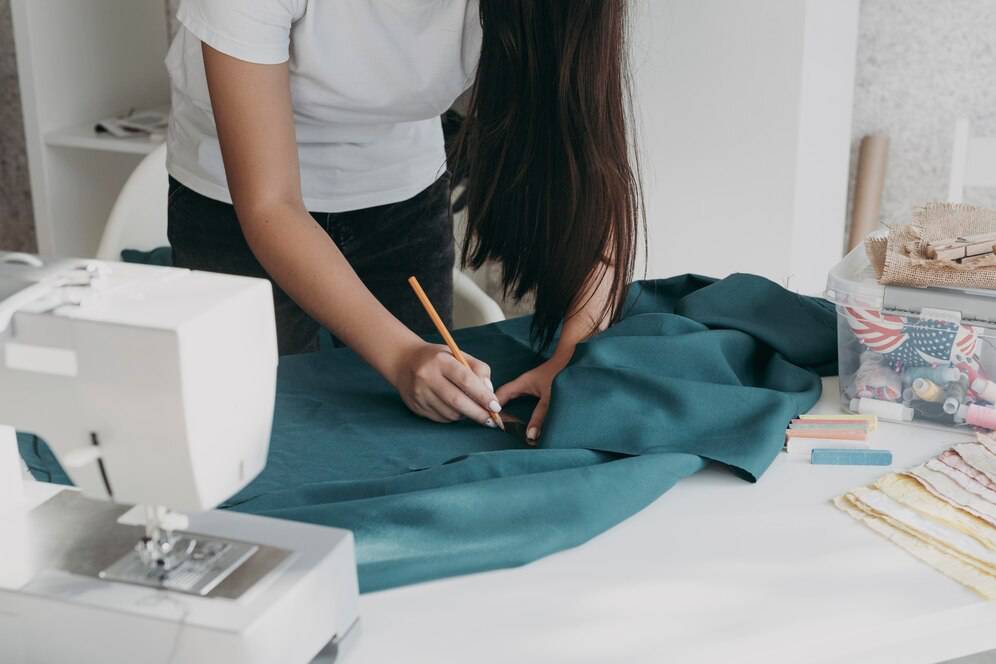
Use a quilting ruler and rotary cutter to cut your fabric into precise shapes based on your pattern. For a basic patchwork quilt, cut squares of equal size (e.g., 5” x 5” or 10” x 10”). Take your time during this step, as precise cutting will make the sewing process much easier and result in a neater final quilt.
Piecing the Quilt Top for DIY Quilting
Arranging Your Quilting Fabric Pieces
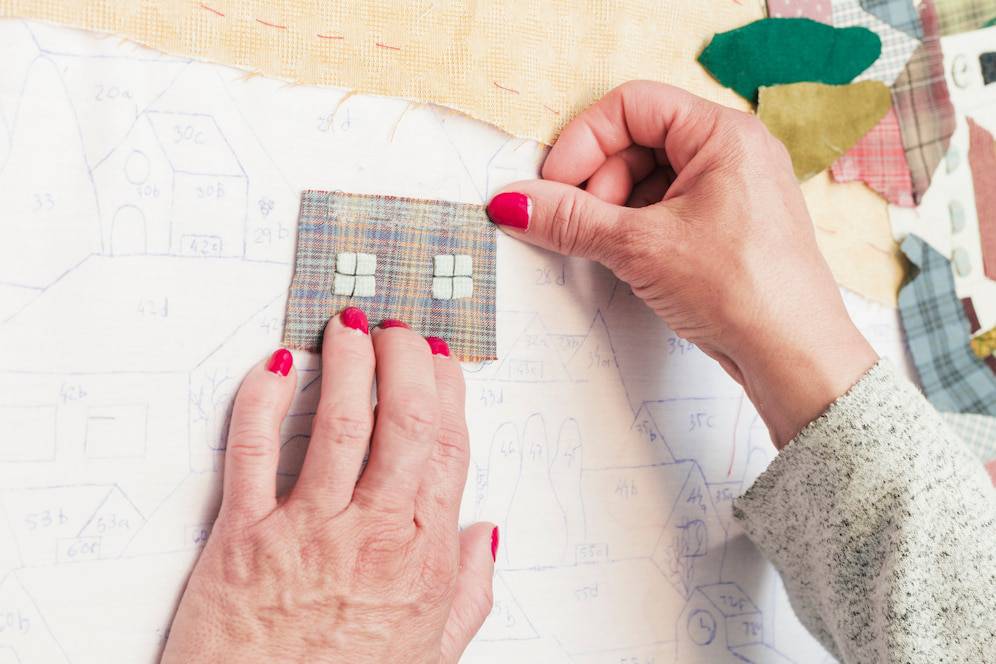
Lay out your fabric pieces on a flat surface or a design wall. Experiment with different layouts to find the most visually appealing arrangement. Consider alternating dark and light colours to create contrast and make the pattern stand out. Take a photo of your layout to refer back to as you sew.
Sewing the Quilting Pieces Together
- Sew fabric squares together in rows using a ¼ inch seam allowance. This ensures consistency and prevents excessive bulk.
- After sewing each row, press the seams open or to one side. Pressing seams flat helps align pieces more accurately.
- Join the rows together, matching seams carefully for a neat finish. Pin at the intersections to ensure precise alignment.
- If using a patterned fabric, ensure the designs are aligned as intended before sewing.
Assembling the Quilt Sandwich for Handmade Quilts
Once your quilt top is complete, it’s time to assemble the three layers: quilt top, batting, and backing fabric.
Layering the Quilt for Quilting
- Lay the backing fabric flat, right side down. Secure it to a large flat surface with masking tape to keep it taut.
- Place the batting on top, ensuring it is smooth and even. Trim excess batting if necessary.
- Position the quilt top, right side up. Ensure it is centred over the batting and backing.
- Secure the layers with safety pins or basting spray to prevent shifting. Pin every few inches to keep the layers stable while quilting.
Quilting Your Quilt for DIY Quilting
Quilting stitches hold the layers together and add texture to the design.
Simple Quilting Techniques for Handmade Quilts:
- Straight Line Quilting for Beginners: Sew consecutive lines across the quilt at even intervals, either vertically or diagonally.
- Stitch-in-the-Ditch Quilting: Stitch along the seams for a subtle effect. This method blends well and keeps the focus on the patchwork design.
- Free-motion quilting for Handmade Quilts uses a darning foot to create intricate designs. This advanced technique requires practice but allows for beautiful decorative effects.
Use a walking foot attachment on your sewing machine to prevent fabric layers from shifting while quilting. Start quilting from the centre and work outward to avoid wrinkles or bunching.
Binding the Quilt for DIY Quilting
Binding finishes the edges of your quilt, giving it a polished look.
Steps to Bind Your Quilt for Handmade Quilts:
- Cut binding strips (2.5” wide) and join them to create one long strip.
- Fold the strip in half lengthwise and press.
- Sew the binding to the quilt’s edge, aligning raw edges. Use a ¼ inch seam allowance.
- Fold the binding over to the back and hand-stitch or machine-stitch for a clean finish.
- Mitre the corners neatly by folding them at a 45-degree angle before sewing them down.
Final Touches and Care Tips for Handmade Quilts
Checking for Loose Threads in Quilting
Inspect your quilt for loose threads and trim any excess fabric. This step ensures a neat and professional final product.
Washing and Storing Handmade Quilts
Wash your finished quilt in cold water with a gentle detergent. If machine washing, use a delicate cycle. Air dry or tumble dry on low heat. Store in a cool, dry place to preserve its quality and prevent fading over time. Avoid storing quilts in plastic bags, which can trap moisture and lead to mildew.
Wrap Yourself in Creativity: Complete Your First Quilt!
Congratulations! You have made your first quilt! Since quilt making is one of those skills that only gets better with practice, accumulate the designs and take a medium experimental approach with new ones, too. Whether you give it away or keep it, your quilt showcases your creativity and commitment.
Work on gathering some fabric and the quilting supplies needed to stitch these beautiful quilts. Let us know what you think of this guide in the comments below and how quilting is going for you! Check more for sewing.