How to Make Handmade Beaded Bracelets
Best-handcrafted jewellery is widely in demand as it is used as a personal and creative expression pattern. Beaded bracelets are a great DIY jewellery project. They are adaptable, simple to prepare, and aesthetically pleasing. Whether you are a beginner or a qualified craftsman, making hand-made bracelets is a fun and enjoyable experience.
This guide will help you start creating your beaded jewellery. You will discover how to select materials and become proficient in numerous techniques. Get design inspiration, follow easy steps, and get tips to make custom beaded bracelets that show your style.
So, handmade jewellery can be your best plot for creativity and gifting from the heart. Making original pieces allows you to share your creativity with friends and family. You may even be able to start a bit of jewellery-making business. Explore beaded jewellery. Learn the art of making magical accessories and relax. Materials Needed for Beaded Bracelets
Before you start creating your handmade bracelets, gather the necessary materials. The right tools and beads will significantly impact the outcome of your custom beaded jewellery.
Essential Supplies
- Beads—Choose from various materials, such as glass, wood, acrylic, gemstone, or metal beads. The right beads will determine the overall aesthetic of your bracelet.
- Beading thread or elastic cord – Elastic is ideal for stretch bracelets while beading thread is great for more intricate designs that require added strength and durability.
- Clasps and closures—If making non-stretch bracelets, lobster clasps, toggle clasps, or magnetic closures are useful for securing the bracelet.
- Jump rings and crimp beads – These help secure the bracelet’s ends and enhance its durability.
- Wire cutters and pliers – Essential tools for working with metal components, cutting wire, and securing fastenings.
- Beading needle – Useful for threading small-hole beads and working with more delicate designs.
- Measuring tape – Helps determine the perfect bracelet size to ensure a comfortable fit.
Choosing Your Beads
The beads you select will define the aesthetic of your bracelet. Consider:
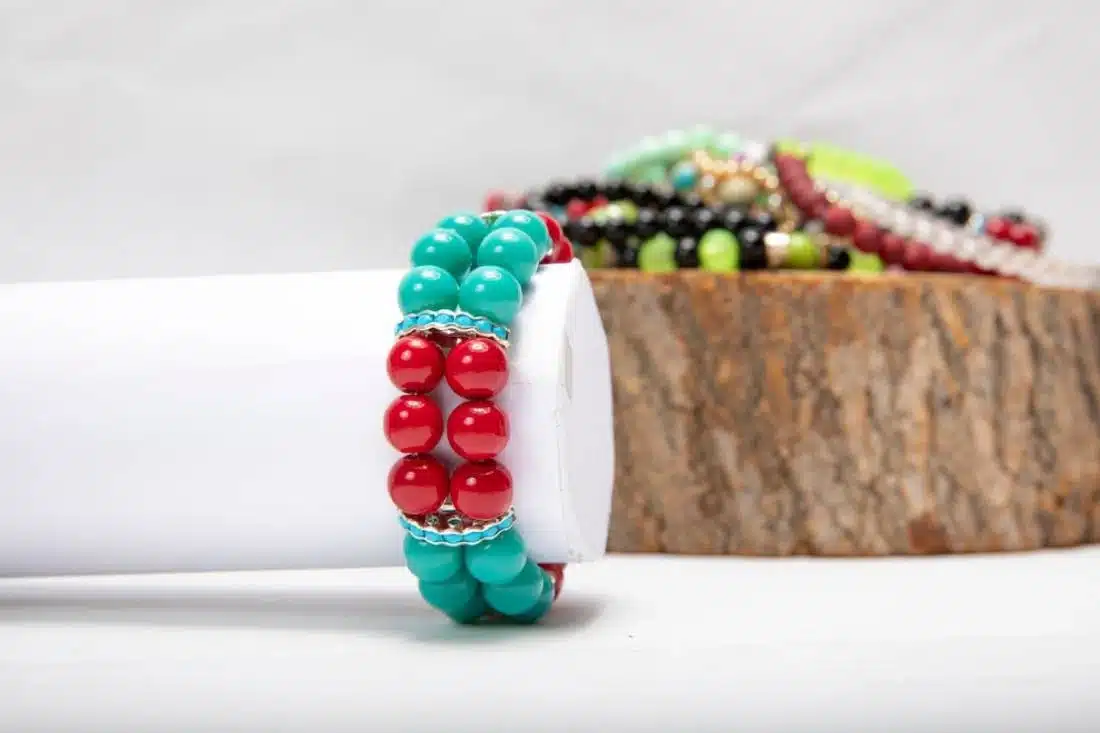
- Glass beads – Bright and elegant, ideal for a sophisticated look in handmade beaded jewellery.
- Gemstone beads are perfect for those who love natural and earthy designs. They are often used in spiritual or healing bracelets.
- Wooden beads – Great for a bohemian or rustic style, adding a natural and organic feel to your beaded bracelet designs.
- Seed beads – Small and delicate, perfect for intricate patterns and fine beadwork.
- Metallic beads – Add a luxurious or industrial touch to your DIY beaded bracelets.
- Clay and ceramic beads offer a unique, artisanal style. They are often hand-painted, adding creative flair.
Step-by-Step Guide to Making a Beaded Bracelet

Step 1: Plan Your Design
Before threading any beads, decide on your design. Lay out your beads in the desired sequence on a flat surface or a beadboard to visualise the final look.
Consider:
- Colour combinations – Harmonising shades create an appealing aesthetic for your handmade jewellery.
- Patterns – Alternating bead sizes, textures, and colours add depth and uniqueness to your DIY jewellery making.
- Focal points – A unique bead, charm, or pendant can serve as the centrepiece of your custom beaded bracelet.
Step 2: Measure and Cut Your Cord
- Measure your wrist and add an extra inch for flexibility to ensure a comfortable fit.
- If using an elastic cord, cut slightly longer than needed to allow for knotting and securing.
- For non-stretch bracelets, ensure you have enough length to attach clasps and fastenings securely.
Step 3: Thread the Beads
- If using elastic, pre-stretch the cord to prevent future sagging, a common issue in handmade stretch bracelets.
- Thread the beads in your planned order, ensuring they fit comfortably around your wrist.
- Use a beading needle to thread small-hole beads in DIY beaded jewellery if necessary.
Step 4: Secure the Ends
- For elastic bracelets, use a strong double or surgeon’s knot. Add a drop of jewellery glue for extra durability. This will help your handmade jewellery last longer.
- If using beading thread, crimp the ends securely with crimp beads and attach clasps.
- Tuck excess thread into nearby beads to maintain a neat and professional finish.
Advanced Techniques for Handmade Bracelets

Once you master essential jewellery making for beginners, you can explore more advanced techniques to elevate your designs and make your beaded bracelet designs stand out.
Wire-Wrapped Bracelets
- Instead of stringing beads on elastic, use jewellery wire for added structure and durability.
- Use wire loops and wrapped techniques to secure each bead, creating a distinctive handcrafted look.
Multi-Strand Bracelets
- Create a layered effect by combining multiple strands to add depth and dimension to your DIY beaded jewellery.
- Mix various bead sizes, colours, and textures to create an eye-catching bracelet.
- Use spacer bars to keep strands neatly arranged and aligned.
Bead Weaving
- Use tiny seed beads to create intricate woven patterns, commonly used in handmade jewellery making.
- Techniques like peyote stitch or loom beading add texture and complexity to DIY bracelets.
- Great for making statement bracelets with detailed and artistic designs.
Customising Your Beaded Bracelets

Adding Charms and Pendants
Personalise your handmade bracelets by attaching charms that hold sentimental value, such as initials, zodiac signs, or meaningful symbols. This adds a unique touch to DIY jewellery making.
Experimenting with Colours and Patterns
Don’t be afraid to mix bold colours and unique bead shapes. Try trendy combos like pastel colours, monochrome looks, or rainbow patterns. These will keep your beaded bracelet designs fresh and stylish.
Using Different Stringing Materials
Switching from elastic to leather cord, suede, or chain can completely transform the style of your handmade jewellery. Experimenting with different materials enhances the uniqueness of your custom beaded bracelets.
Caring for Handmade Beaded Bracelets
To keep your DIY beaded jewellery in excellent condition:
- Store in a dry place to prevent tarnishing and wear.
- Avoid exposure to water and harsh chemicals to maintain bead integrity.
- Regularly check for loose knots or worn-out elastic to prevent breakage.
- Clean gemstone and glass beads with a soft cloth to retain their shine.
Wear Your Creativity: Make Your Own Beaded Bracelets!
And so these bracelets with timeless art are the exact way of creativity. Create one-of-a-kind wearable art from mundane materials. From stretchy elastic bands to intricate bead weaving, the sky’s the limit. Every design speaks — exposing your creativity. Explore the endless possibilities, and unleash your inner artist!
Now that you know how it works and have tried a few things yourself, why not get your materials together? Get out there and create some beautiful work! Display your beaded bracelets to your friends. You can also turn your hobby into a small business. Happy beading! Explore more DIYs for fun or business.