How to Create Wire-Wrapped Rings and Pendants
The Wire Art: Beautiful, Versatile Craft Using Simple Materials And Tools. If it is your first time trying your hand at jewellery making or if you are a professional, wire wrapping techniques of jewellery making can help you create DIY wire jewellery by adding a touch of uniqueness, elegance, and personalisation to your jewellery. Thanks again to originality and personal touch and the opportunity to vary involving types of handmade rings and pendants jewellery, handcrafted jewellery is becoming more prevalent.
This guide will gather everything you want to know about making wire-wrapped rings and pendants. We will go over the tools you need, the recommended types of wire, step-by-step instructions, and ideas for designs that may inspire you to get started on this amazing craft. Wire wrapping is a great skill to learn if you want to run a small business or give gifts to family and friends.
Materials and Tools Needed for Wire Wrapping
Before you start making your DIY wire jewellery, gathering the right tools and materials is critical. Here’s what you’ll need:
Essential Tools:
- Round-nose pliers – Used for making loops and curves in the wire.
- Chain-nose pliers – Ideal for gripping and bending wire without leaving marks.
- Flat-nose pliers – Useful for straightening and flattening wire.
- Wire cutters – Necessary for cutting wire to the desired length.
- Mandrel or ring sizer – Helps in shaping rings to the correct size.
- File or sandpaper – Used to smooth rough wire edges.
- Ruler and marker – This is used to measure and mark wire accurately.
Types of Wire:
Choosing the right wire is crucial for wire wrapping techniques. Consider the following:
- Copper wire – Affordable, malleable, and easy to work with.
- Sterling silver wire is more expensive but offers a high-end finish.
- Gold-filled wire – A luxurious option that resists tarnishing.
- Aluminium wire – Lightweight and available in many colours.
- Brass wire – Provides a vintage or antique look.
Wire comes in different gauges (thicknesses), typically ranging from 16 to 28 gauge. Thicker wire (16-18 gauge) is ideal for ring bases, while thinner wire (24-28 gauge) is better for detailed wrapping and securing gemstones.
Quick Guide: 5 Key Steps to Master Wire-Wrapped Jewelry
- Gather Tools & Materials – Use round-nose pliers, wire cutters, and jewelry wire (16–28 gauge).
- Choose the Right Wire – Start with copper or brass before progressing to sterling silver or gold-filled wire.
- Wrap the Base – Form your ring or pendant base using thicker wire around a mandrel or focal stone.
- Add Stones or Beads – Secure gems with thinner wire and create decorative swirls or crisscross patterns.
- Polish & Finish – Smooth sharp ends, tighten wraps, and polish your finished piece for a pro look.
Pro Tip
Start with copper wire—it’s budget-friendly, soft, and easy to work with, making it perfect for beginners learning wire control and shaping.
Important Note
Always file down sharp wire ends after trimming to prevent scratching skin or snagging on clothing. A small jewelry file or fine-grit sandpaper does the job.
Step-by-Step Guide to Creating Wire-Wrapped Rings

Step 1: Choosing a Design
Decide on the style of ring you want to make. Some popular options include:
- Minimalist rings – Simple bands with a small wire-wrapped bead or gemstone.
- Statement rings – Bold designs incorporating multiple wraps and large stones.
- Stackable rings – Delicate rings that can be worn together.
Step 2: Measuring and Cutting the Wire
Cut a piece of wire about 6-10 inches long, depending on the design. If using a stone or bead, ensure the wire length allows room for wrapping.
Step 3: Creating the Base
- Wrap the wire around a ring mandrel at the desired size.
- Cross the ends of the wire over the top to hold the shape.
- Adjust and tighten as needed.
Step 4: Adding a Bead or Gemstone
- Slide a gemstone onto the wire and position it in the centre.
- Secure it by wrapping the wire around both sides of the ring base.
- Use pliers to ensure a firm hold while maintaining the design’s aesthetics.
Step 5: Finishing Touches
- Trim any excess wire and smooth out sharp edges.
- Use pliers to tighten the final wraps for durability.
- Polish the ring using a soft cloth to enhance its shine.
Step-by-Step Guide to Creating Wire-Wrapped Pendants

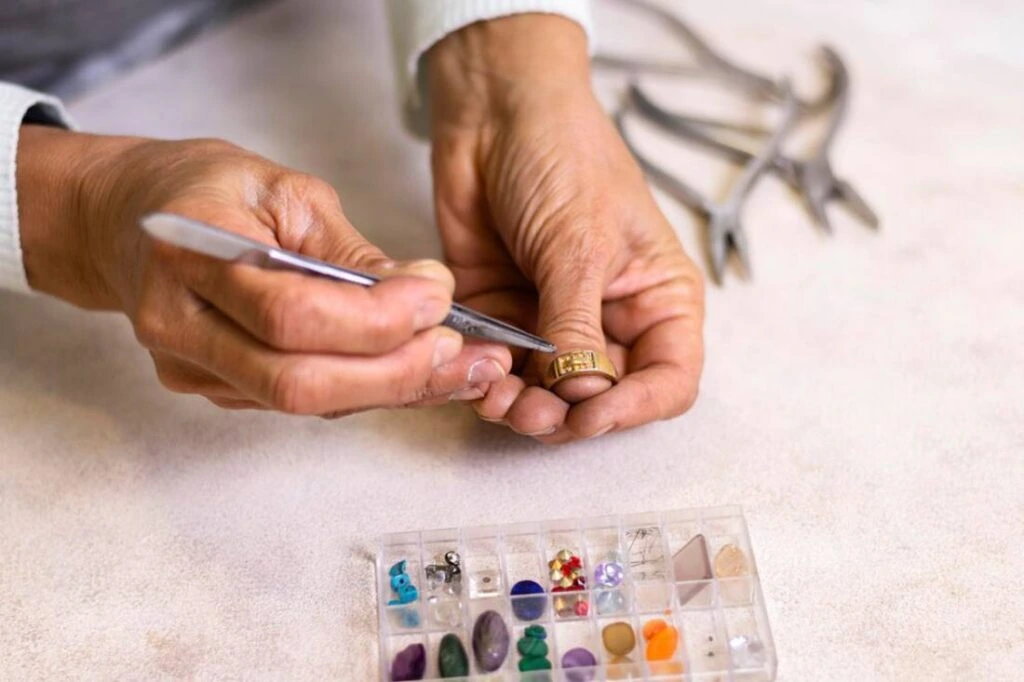
Step 1: Selecting a Focal Stone or Bead
The beauty of wire-wrapped pendants lies in the various stones you can use. Choose from:
- Cabochons – Flat-backed stones ideal for intricate wrapping.
- Tumbled gemstones – Smooth, polished stones for organic designs.
- Crystal points – Popular for spiritual and energy-based jewellery.
Step 2: Cutting and Preparing the Wire
Cut about 12-18 inches of wire, depending on the stone size and design. Use thicker wire (18-20 gauge) for a sturdy frame and thinner wire (24-28 gauge) for decorative wrapping.
Step 3: Creating the Wire Frame
- Place the stone in the wire’s centre and bend it around it.
- Twist or cross the wire at the top to hold the stone in place.
- Create loops and swirls with pliers to add design elements.
Step 4: Securing the Stone
- Wrap thinner wire around the base frame to secure the stone.
- Weave the wire in a crisscross pattern for added detail and strength.
- Use pliers to adjust and ensure the stone is held firmly.
Step 5: Adding a Bail (Pendant Loop)
- Create a small loop at the top using round-nose pliers.
- Ensure the loop is large enough to fit a chain or cord.
- Wrap additional wire around the base of the loop for a finished look.
Design Inspiration and Creative Ideas
Wire-wrapped jewellery offers endless possibilities for creativity. Here are some ideas to inspire your next project:
- Nature-Inspired Designs – Use swirling wire patterns to mimic vines and leaves.
- Minimalist Styles – Create sleek and elegant pieces with clean wire lines.
- Bohemian Vibes – Incorporate raw crystals, beads, and mixed metals for a rustic look.
- Personalised Pieces – Add initials or meaningful charms for a sentimental touch.
Tips for Perfecting Your Wire-Wrapping Techniques
- Practice with Copper Wire First – It’s inexpensive and easy to manipulate.
- Use Quality Tools – Good pliers and cutters make a huge difference.
- Experiment with Different Wire Gauges – Each gauge offers a different level of flexibility and strength.
- Don’t Rush – Take your time to refine details and ensure secure wraps.
- Join Online Communities – Learn from other jewellery makers and get inspired by new trends.
5 Frequently Asked Questions (FAQs)
1. What wire gauge is best for beginners?
Try 20 or 22 gauge for your first projects. It’s flexible enough to shape, yet strong enough to hold form.
2. Can I make wire-wrapped jewelry without gemstones?
Absolutely! You can create beautiful designs with just wire, beads, or even small charms.
3. What is the difference between hard, half-hard, and dead-soft wire?
These refer to wire temper (flexibility). Dead-soft is easiest to bend, while half-hard offers better structure for wraps and loops.
4. How do I stop my wraps from slipping?
Use chain-nose pliers to tighten wraps and press them snugly against the base. Practice improves precision over time.
5. Can I sell my wire-wrapped jewelry?
Yes! Handmade wire-wrapped pieces are popular on platforms like Etsy and at local craft fairs. Be sure to price based on material cost, time, and creativity.
Twist and Shine: Make Your Own Wire-Wrapped Jewelry!
Wire-wrapped jewellery making is one of the best creative crafts. You can make unique but handmade rings and pendants using a few tools. Whether you make jewellery for yourself, gift, or sell, the added benefit of being able to wire-wrap will give you your creative avenues!
Thanks to this guide, you now have the skills to create attractive DIY wire jewellery that reflects your style. Prepare your materials, practice , and unleash your creativity!
Have you tried wire wrapping before? Share your experiences and favourite designs in the comments below! Check out how to wrap your gifts.