How to Make Your Own Scented Bath Bombs
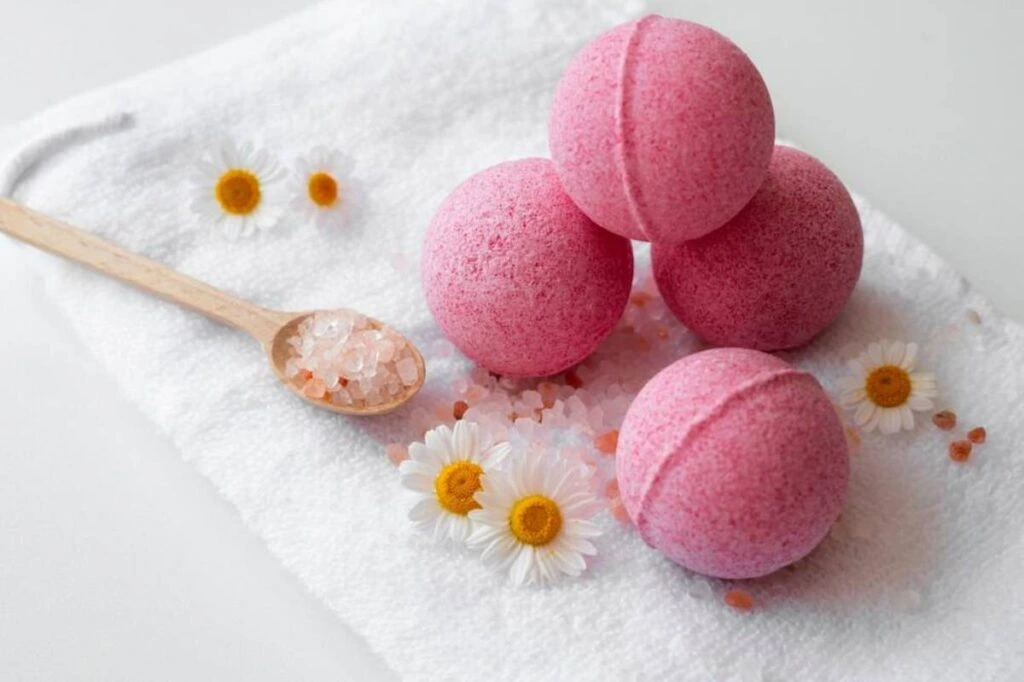
There’s nothing quite as luxurious as sinking into a warm, scented bath after a long day. But instead of spending money on expensive store-bought bath products, why not create your own DIY bath bombs? They are fun to make and allow you to customise scents, colours, and ingredients to suit your skin type and preferences.
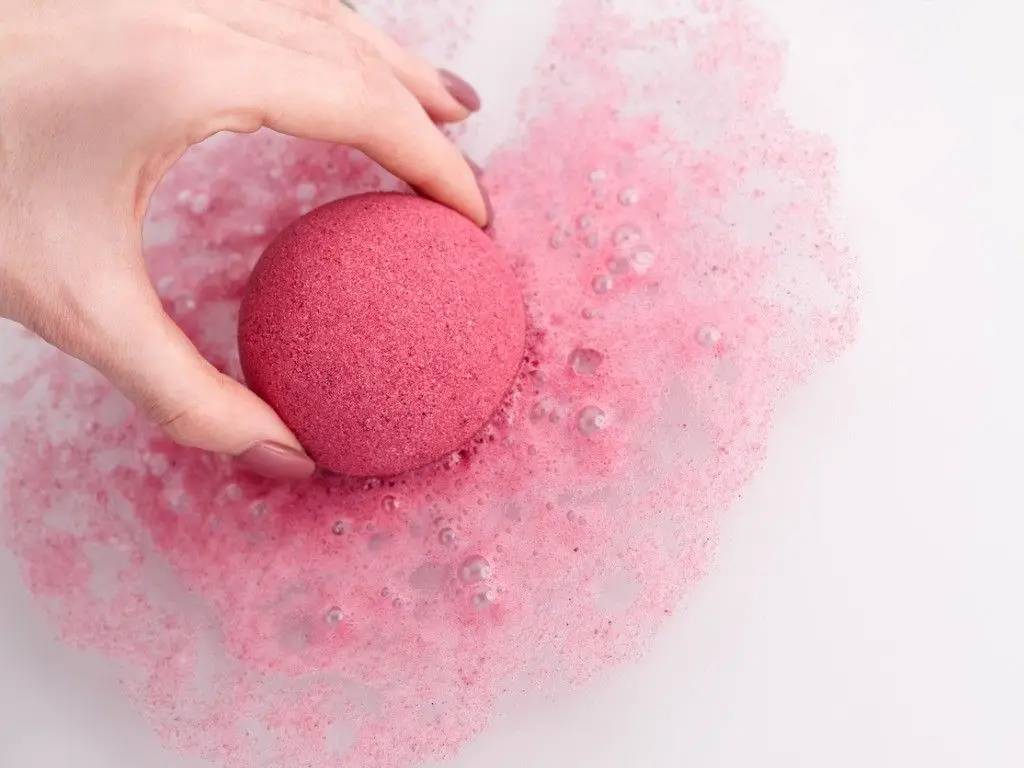
Bath bombs are one of the most popular handmade skincare products. They are often infused with essential oils, skin-nourishing ingredients, and relaxing aromas. Whether you’re making them for yourself, as gifts, or even to sell, this guide will walk you through how to make bath bombs from scratch.
By the end of this guide. You’ll have all the knowledge you need to create beautifully scented, fizzy bath bombs in a few simple steps. Let’s dive into it.
Quick Guide: 5 Steps to DIY Bath Bomb Bliss
- Mix Dry Ingredients – Combine baking soda, citric acid, and optional extras like Epsom salt.
- Blend Wet Ingredients – Mix oils, essential oils, and optional colourants in a separate bowl.
- Combine Wet and Dry – Slowly whisk wet mix into dry until it holds like damp sand.
- Mould and Shape – Press mixture firmly into moulds and let set.
- Dry and Store – Allow to dry for 24 hours before storing in an airtight container.
Pro Tip
Add witch hazel via a spray bottle rather than pouring it in—this helps control moisture levels and prevents premature fizzing!
Important Note
Always patch-test ingredients on your skin before use, especially essential oils. Some oils may cause irritation or allergic reactions.
1. Why Make Your Own?
Cost-Effective and Customisable
Store-bought bath bombs are expensive, and they often contain artificial dyes or harsh chemicals. By making your own, you can:
- Control the ingredients, ensuring they’re skin-friendly.
- Experiment with different essential oils and scents.
- Add moisturising elements like coconut oil or shea butter for extra skin benefits.
A Fun and Relaxing DIY Project
Making handmade skincare products can be an enjoyable hobby. It’s a great activity to do alone, with friends, or even with kids. The result is a lovely product you can use for self-care or a gift to others.
Perfect for Gifting or Selling
Since DIY bath bombs are easy to make, they make fantastic gifts for birthdays and holidays or as part of a spa gift set. Many small businesses have also turned handmade bath products into profitable ventures.
2. Essential Ingredients for Bath Bombs

To get started, you’ll need a few essential bath bomb ingredients:
Dry Ingredients
- Baking soda (sodium bicarbonate): The key ingredient that creates fizz when combined with citric acid.
- Citric acid: Reacts with baking soda to produce the bubbly effect.
- Cornstarch (optional): Helps slow down the fizz, making the bath bomb dissolve more gradually.
- Epsom salt (optional): Soothes muscles and enhances relaxation.
Wet Ingredients
- Water or witch hazel: Binds the ingredients together.
- Essential oils: Adds fragrance and therapeutic benefits (e.g., lavender for relaxation, eucalyptus for congestion relief).
- Carrier oil (e.g., coconut, almond, or jojoba oil): Moisturises the skin.
- Food colouring or natural mica powder (optional): Adds colour without staining the tub.
Optional Additions
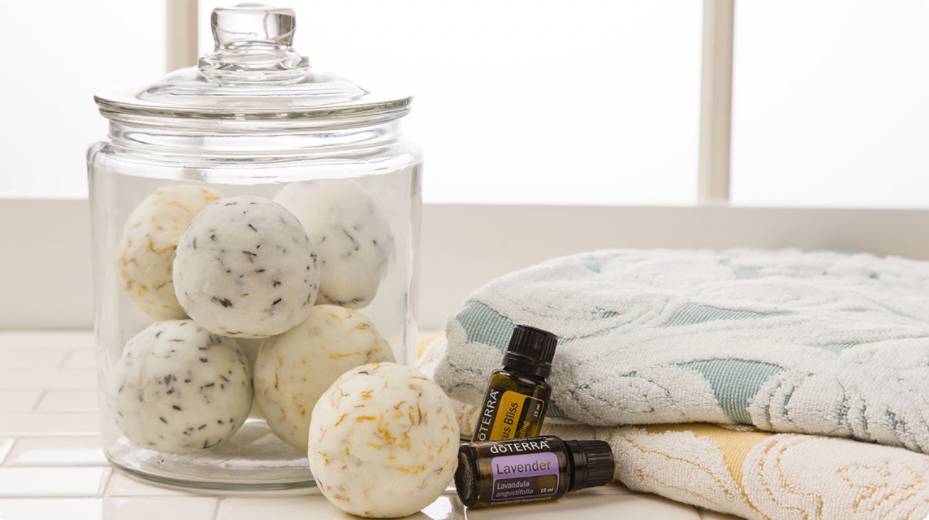
- Dried flowers (rose petals, lavender, chamomile) for a spa-like effect.
- Glitter (skin-safe biodegradable glitter) for an extra touch of glamour.
- Oatmeal or powdered milk for added nourishment.
3. Step-by-Step Guide: How to Make Bath Bombs
Follow this simple recipe to create your DIY bath bombs at home.
Step 1: Mix the Dry Ingredients
- In a large mixing bowl, combine:
- 1 cup baking soda
- ½ cup citric acid
- ½ cup cornstarch (optional)
- ½ cup Epsom salt (optional)
- Stir thoroughly to remove any lumps.
Step 2: Prepare the Wet Mixture
- In a small bowl, mix:
- 2 ½ tablespoons of carrier oil (coconut, almond, or jojoba)
- 1 teaspoon of water or witch hazel
- 10-15 drops of essential oil (e.g., lavender, peppermint, or citrus)
- A few drops of food colouring or mica powder (optional)
- Stir well to blend the ingredients.
Step 3: Combine Wet and Dry Ingredients
- Slowly add the wet mixture to the dry ingredients a little at a time, whisking constantly.
- The mixture should have a damp sand texture—it should clump together when squeezed but not be too wet.
- If it’s too dry, spray more water or witch hazel.
Step 4: Mould the Bath Bombs
- Pack the mixture firmly into bath bomb moulds or silicone moulds.
- Press the halves together if using spherical moulds.
- Let them sit in the mould for a few minutes before gently removing them.
Step 5: Let Them Dry
- Place bath bombs on a tray lined with parchment paper.
- Allow them to dry for at least 24 hours in a cool, dry place.
4. Best Essential Oils for Bath Bombs

Using essential oils enhances the experience and provides aromatherapy benefits. Here are some great options:
For Relaxation:
- Lavender
- Chamomile
- Sandalwood
For Energising Effects:
- Lemon
- Orange
- Peppermint
For Muscle Relief:
- Eucalyptus
- Tea Tree
- Rosemary
Each oil provides a different sensory experience, so experiment with blends to find your favourite.
5. Troubleshooting Common Bath Bomb Problems
Even with the best recipe, things can go wrong. Here’s how to fix common issues:
Bath Bombs Crumble or Fall Apart
- The mixture was too dry. Try adding more witch hazel or oil in small amounts.
Bath Bombs Expand or Lose Shape
- Too much moisture caused the reaction to start too soon. Reduce the amount of water added.
Bath Bombs Don’t Fizz in the Tub
- The citric acid or baking soda ratio might be off. Ensure you’re using fresh ingredients.
6. Creative Ideas for Handmade Bath Bombs
Want to level up your bath bombs? Try these variations:
1. Colourful Galaxy Bath Bombs
- Mix different mica powders for a cosmic swirl effect.
2. Floral Infused Bath Bombs
- Add dried flowers like rose petals or lavender for a natural, elegant touch.
3. Coconut Milk Bath Bombs
- Replace cornstarch with coconut milk powder for extra hydration.
4. Surprise Bath Bombs
- Hide a small toy or message inside for a fun surprise when it dissolves.
7. How to Store and Package Bath Bombs

To keep bath bombs fresh and fizzy:
- Store in an airtight container away from humidity.
- Wrap in parchment paper or shrink wrap to prevent moisture absorption.
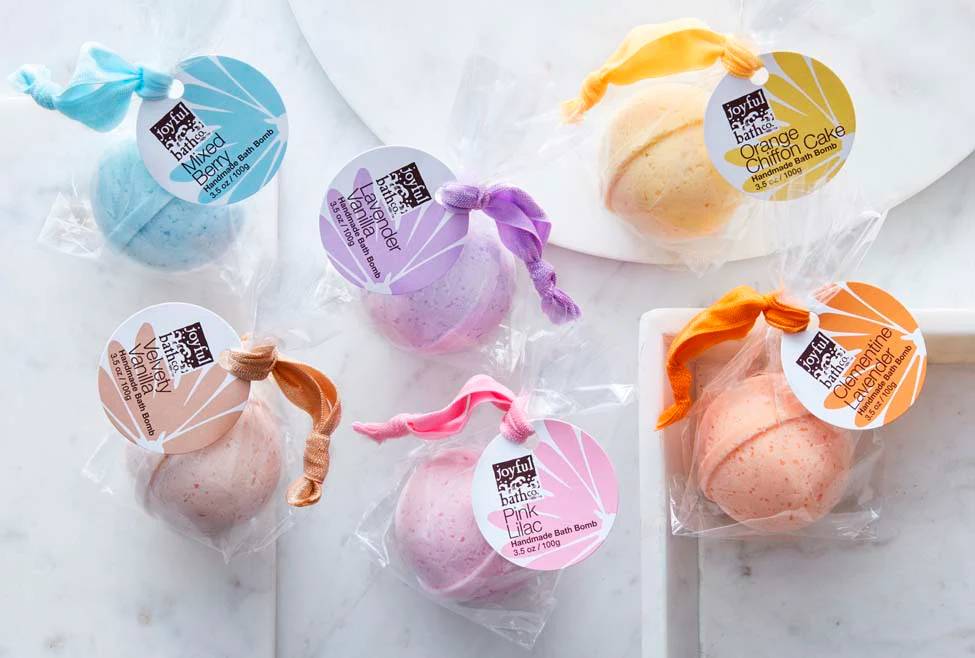
- Package them in decorative boxes or organza bags for gifting.
Ensure proper labelling, listing ingredients, scent, and usage instructions if selling.
5 Frequently Asked Questions (FAQs)
1. How long do homemade bath bombs last?
Typically 6 months if stored in a cool, dry, airtight container. Exposure to moisture can reduce fizz and scent over time.
2. Can I make bath bombs without citric acid?
Citric acid is key for the fizz, but alternatives like cream of tartar or lemon juice powder can offer similar (though milder) effects.
3. What’s the best mould for beginners?
Silicone moulds are forgiving, easy to use, and great for first-timers. Avoid rigid plastic unless you’re experienced.
4. Do bath bombs stain tubs?
Not if you use skin-safe mica powders and avoid excessive food colouring. Always test a small amount first.
5. Are bath bombs safe for kids?
Yes, if made with gentle, skin-safe ingredients. Avoid strong essential oils and opt for mild, natural scents like lavender or chamomile.
Final Thoughts: Enjoy Your Homemade Bath Bombs!
Creating your DIY bath bombs is a fun and rewarding process that allows you to customise scents, colours, and skin benefits. Whether making them for yourself, as thoughtful gifts, or even to start a small business, homemade bath bombs are a fantastic addition to any self-care routine.
Now that you know how to make bath bombs, why not experiment with different essential oils and colours? Just make sure you are not allergic to any of the ingredients.
Ready to create your own spa experience at home? Click here to learn all about making Handmade Candles for the ultimate spa experience. Start making your handmade skincare products today!